I love to add details to my projects, whether I'm making children's clothing or a purse! And one of my favorite ways is to use rick rack, especially inset in a seam or hem.

I get a lot of compliments on how perfect and even my rick rack always looks, I have a super easy-peasy method and I'm going to share my secret with you today.

lets take your skills up a notch,
and go from bad placement...

...to perfect placement!
Lets get started!
Perfect Rick Rack
You will need:
Elmer's washable glue stick. (the purple kind)


Now, run your glue stick directly over your stitching line, you can be generous (it's water soluble!)

Place your rick rack directly over the glue/seam line. Make sure it is securely in place
If you want to see more rick rack, then line up the edge with your stitching line as shown in the picture
.jpg)
Alternative: If you want to see just the tips of the rick rack peeking through the seam, then line up the edge as shown in this picture

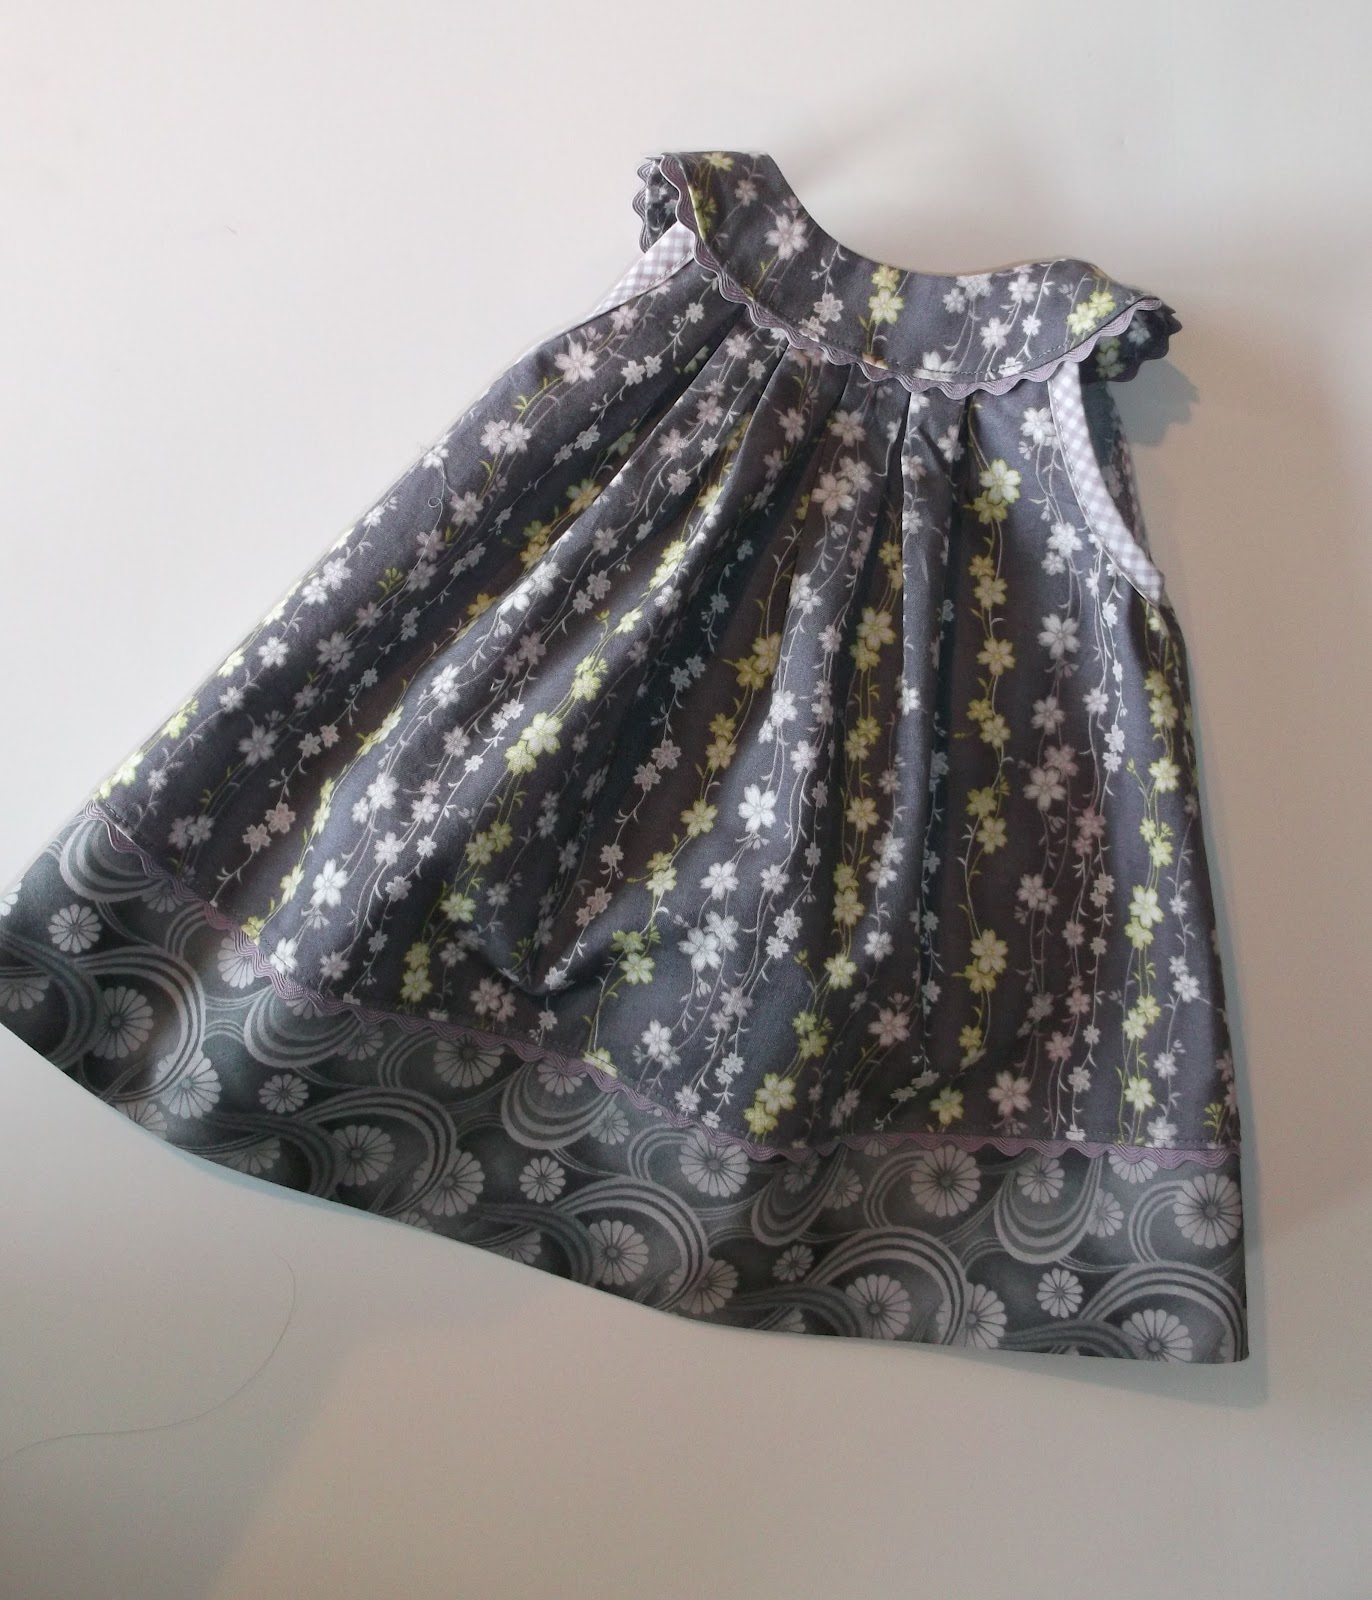
Slightly ease in fullness around curves if you are placing rick rack in a curved seam, like a collar or yoke

Place your fabrics Right Sides Together, and then stitch directly on top of your original sewing line

Open seam and press, top-stitch if desired
I like to see the full zig and zag of rick rack, so this look is my favorite

If you choose the alternative placement this is how it will look when you are done

You're done! Isn't it lovely?
It's a couple extra steps this way, but you save time by not having to re-sew any mistakes!
Give this method a try and let me know what you think!
Tell us! Do you like to use Rick Rack?
And do you ever use glue sticks for basting?
